5 Ways to Electrify Your LinkedIn Profile
A LinkedIn profile that it is all text and no visuals is exceedingly boring. It won’t help you achieve visibility or credibility. But by adding a few simple visual elements, your LinkedIn profile will leap right off the page and you will become someone who people want to connect with and have in their network.
This article will show you how to add 4 elements that will supercharge your profile. We’ll look at:
- Symbols
- Emojis
- Media
- Gifs
Symbols
Symbols are those elements you can add from within Word with a simple click of Insert / Symbols. Here are a few I think are most useful for LinkedIn. These can be simply and easily added to Headlines, About, Experience, Education etc.
Ideal for lists or separating blocks of text, symbols are mono in colour but can work well when grouped together like:
→→→
Or as bullets:
- xxx
- xxx
- xxx
Separating lines of text with ——- looks like this:
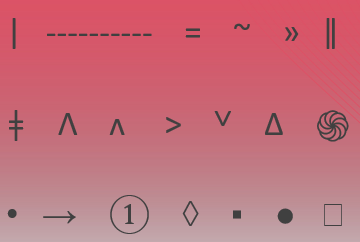
These are some of the symbols available in Word.
I recommend that if you are using symbols, especially in your Headline, you are consistent. A mix of spaces and no spaces simply looks sloppy.
Use spaces between vertical lines to make the text stand out and not look crushed. If you’re short of space, edit your text so that it fits cleanly.
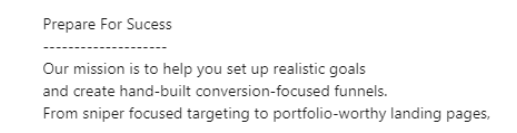
Plain text can have extra impact if each of the main words begins with an upper case letter or is fully upper case:
The Quick Brown Fox Jumps Over the Lazy Dog
THE QUICK BROWN FOX JUMPS OVER THE LAZY DOG
While they both stand out, all upper case is more eye-catching but conversely harder to read.
Symbols can be combined with text formatting for greater impact.

In many cases choosing a style and being consistent is important. But there’s no reason why both styles can’t be used within the same block of text. If you do this, it would be best to use all upper case as the principal headline, and the upper/lower case as secondary.
More impactful formatting can be done via a website called Unicode. This turns plain text into a variety of formats, including different fonts, bold, italic and more. By going to https://qaz.wtf/u/ you’ll be able to see the different options available. Simply type the text you want to format into the top bar, click Show, choose your desired font and copy it. Paste it into the LinkedIn section you’re working on and save.
Here are just a few of the options Unicode provides:
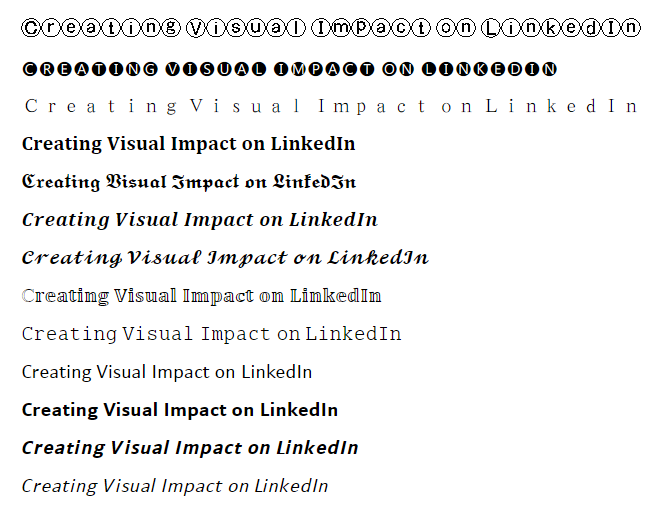
I should add a word of warning about using Unicode. There is a school of thought that says formatting of this type doesn’t display well on older devices and that may be true. Whether this is a risk for you will depend on your target audience. But even some of the top LinkedIn experts use it.
Emojis
Emojis are everywhere nowadays – even in serious business documents like LinkedIn profiles.
But caution advised! Stick to using those that are:
- Simple
- Relevant
There is such a huge range of emojis to choose from that it’s hard to know where to start. But these ones below are my evergreen faithfuls. They work in many circumstances and are instantly understandable. There are variations on these, including different colours, sizes and shapes, and a lot more to choose from than the ones I’ve shown here.
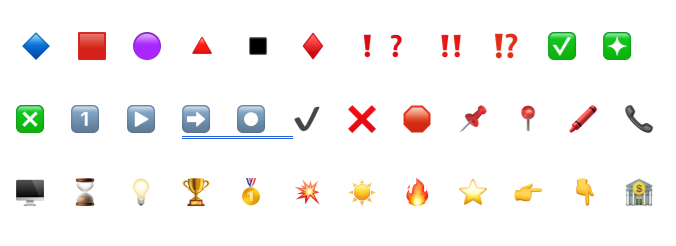
Some emojis display better than others. For instance, some that are in colour when you add them are rendered in black and white when displayed on LinkedIn. The numbers are particularly bad for this.
I’ve also noticed there’s a distinct difference between Mac and Windows when it comes to how these display. For my money, Mac and iOS emojis are more sophisticated and elegant but that gets lost when they are viewed on Windows and Android devices where they become cartoonish. That’s another reason why it’s sensible to choose simple emojis. The one on the bottom far right of the group above, for example, is a bit more complex so I tend to use ones like this less often.
Emojis make great bullet points for lists. This is especially so when there are a few lines of text between the points being made. But emojis can also go at the end of lines. Where I don’t like to see them though is as replacement for text – so ☕ instead of coffee. That gets in the way of understanding and makes the text harder to read.
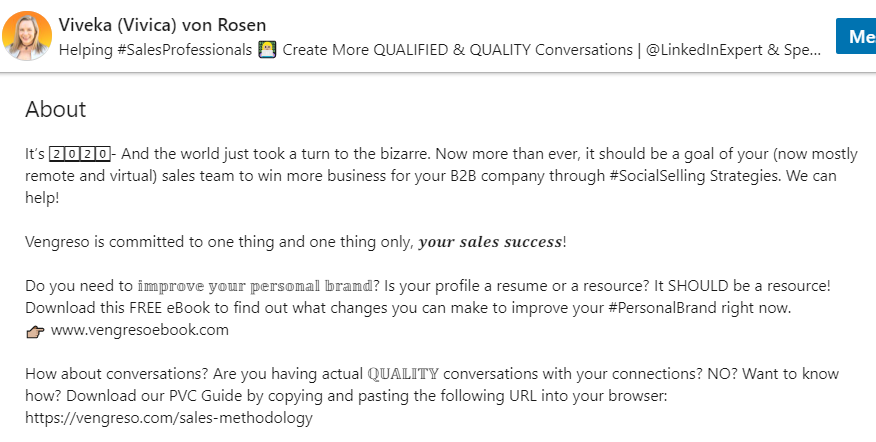
Some people choose a different emoiji on each line of their About section.
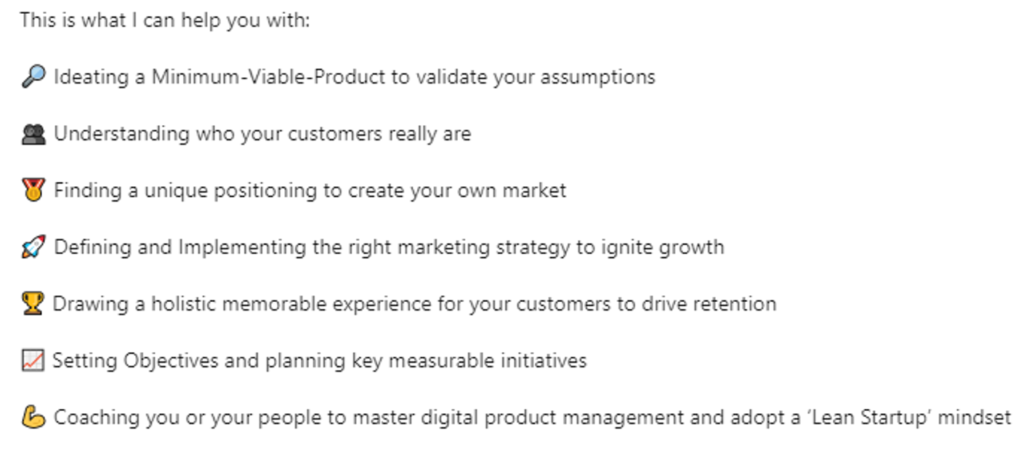
Others go for multiple use of the same bullet, which I prefer because it stands out better. As well, you don’t have to figure out what the emoji means.
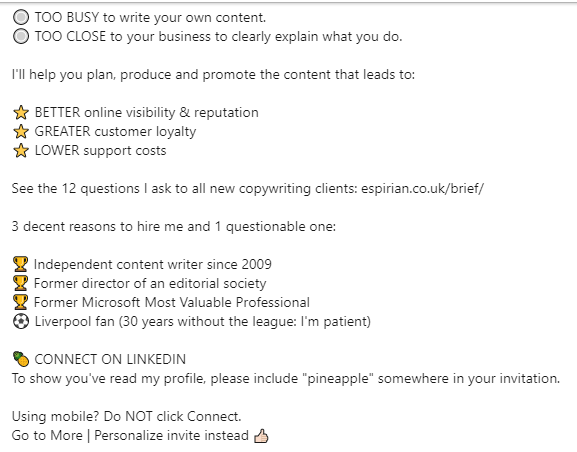
Emojis can be used in your Headline, About, Experience, Education and Volunteer sections.
Media
Including media in your profile is no longer optional, in my opinion. Without it, you run the risk of looking behind the times and unfamiliar with technology. You may also lose out on opportunities to showcase your talents.

Media can be added to Featured, Experience, Education and, in a limited way, to Projects under Accomplishments.
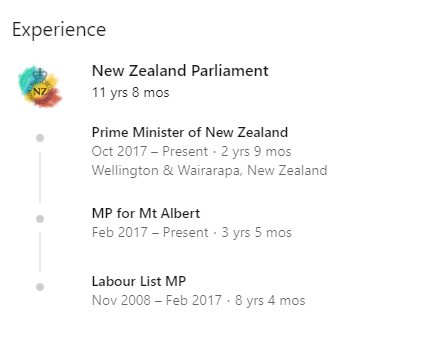
LinkedIn added the Featured section earlier this year simply to allow us all to demonstrate visually our expertise, knowledge and skills. Featured lets us add links, video, images, documents, slideshows and our LinkedIn posts and articles.
To see an example of different formats used in a LinkedIn profile, take a look at mine: https://www.linkedin.com/in/lynnairejohnston/. You’ll see I’ve got an image, a YouTube video of a Facebook Live as well as other videos, a LinkedIn article (actually several), a website link to an article that mentions me, a post with an image, a link to a podcast on which I was a guest and a link to my website.
I have included several article links because these no longer display prominently on your profile if they’re not loaded into Featured. If you want to know more about how Featured works, there’s a webinar replay about this on my YouTube channel (https://www.youtube.com/watch?v=q89DfGyv51A&t=89s) plus a couple of shorter videos, and a post here.
If, however, you have no media loaded, The Featured section doesn’t display on your profile. To add it, go to the Add Profile Section at the top of your profile.
You can also add media to your Experience section.
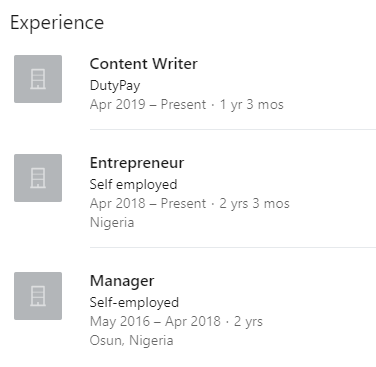
Here’s what a profile looks like with no text and no media in the Experience section. Would you employ this person, be inclined to connect or feel positively toward them?
However, in some cases, it may not be necessary to have text or media!
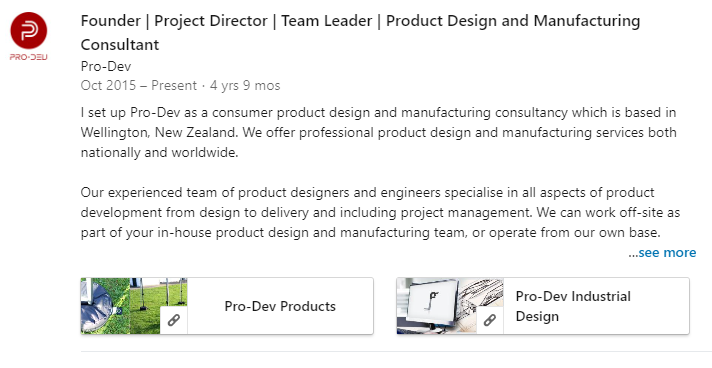
I recommend adding at least one piece of media to each job you’ve had to visually separate the sections and add impact. It will look like this (although I recommend changing the file name to something a little more constructive!)
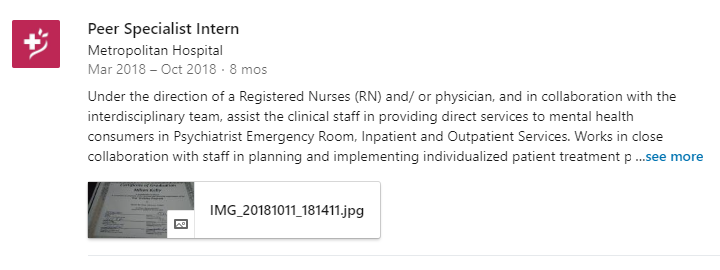
Titles like this are ideal.
You can choose any media you like, just as you can in the Featured section.
However, website links don’t always display well. My workaround for that is to take a screenshot of the Home page and upload it as an image, including the URL in the file name or description.
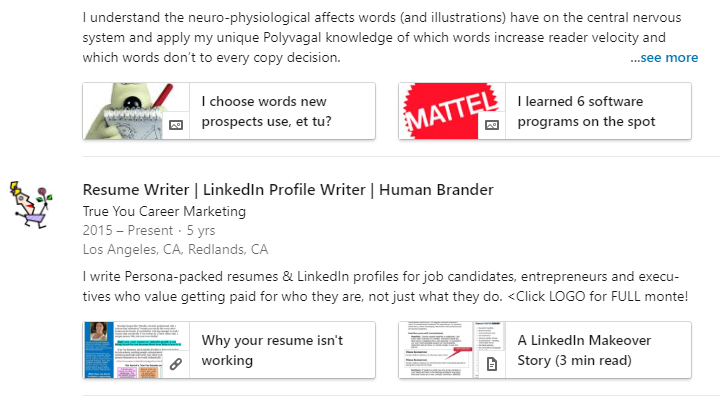
Here’s how having two pieces of media in the Experience section displays. Again, you can see the file name so choose wisely.
When you add more media, the display changes. For instance, here there are 6 and you can see that the thumbnails for the first 4 are displayed. There are no file names though, just an icon for the file type. One way to have impact in your LinkedIn profile here is to use something eyecatching or attention-grabbing, as in the image below, that’s easily visible and makes you want to click it.

When uploading images, make sure that they display well. You don’t want them looking like this.

And now … here’s my new favourite new LinkedIn tip for heart-stopping impact on LinkedIn profiles:
Gifs
Gifs are something LinkedIn allows limited use of. So, make the most of it! Most people haven’t started using them yet so your profile will truly stand out if you do.
Gifs can be added to:
- Posts (as above)
- Featured (via posts)
- Messages (both desktop and mobile)
Here’s an example of gifs being used in the Featured section. They’ve been uploaded as posts so when you see the section, the first two items are constantly moving. Talk about attention grabbing!
I predict a big increase in the use of gifs because of their impact. When you add them to the impact of symbols, emojis and media, your LinkedIn profile will stop viewers in their tracks. And isn’t that what you want from a LinkedIn profile? To stand out from all the rest?
Now you can!
Lynnaire Johnston, Word Wizard is New Zealand’s #1 LinkedIn expert and in the top 20 Asia Pacific, as ranked by the Social Media Marketing Institute. She is a daily LinkedIn practitioner, and works with clients on their LinkedIn profiles, training their staff and provides personal coaching sessions. Follow her to learn more about LinkedIn and don’t forget to read her 77 tips for using LinkedIn in 2020.